Figma strategically introduces features that are extremely useful, amaze designers, and even boost their creativity.
They started with Variants. The feature helps to organize Components in a more efficient way. Finding components with Variants is much quicker. Modifying their appearance in a way similar to real solutions behavior is a real pleasure. When I work in Figma now, I cannot imagine my workflow without them.
This time I will show you how to get started with Interactive Components – revolutionary feature for prototyping. I will also share some additional tips for more advanced purposes.
Grab the mug of your favorite coffee, and let’s dive into Figma Interactive Components!
What are Interactive Components in Figma?
Interactive Components are features that allow you to create a prototype with UI elements that reacts to specific interactions.
It is worth mentioning that you may prepare interaction not only for “on click” action but also “on drag,” “while pressing,” “while hovering,” “keyboard clicks,” and things triggered automatically thanks to the “delay” feature. This gives you the ability to prepare a prototype that successfully imitates a real solution.
Creating interactive elements is very easy. In the next section I will show you how to do that. Let’s make interactive button.

How to Create Interactive Component
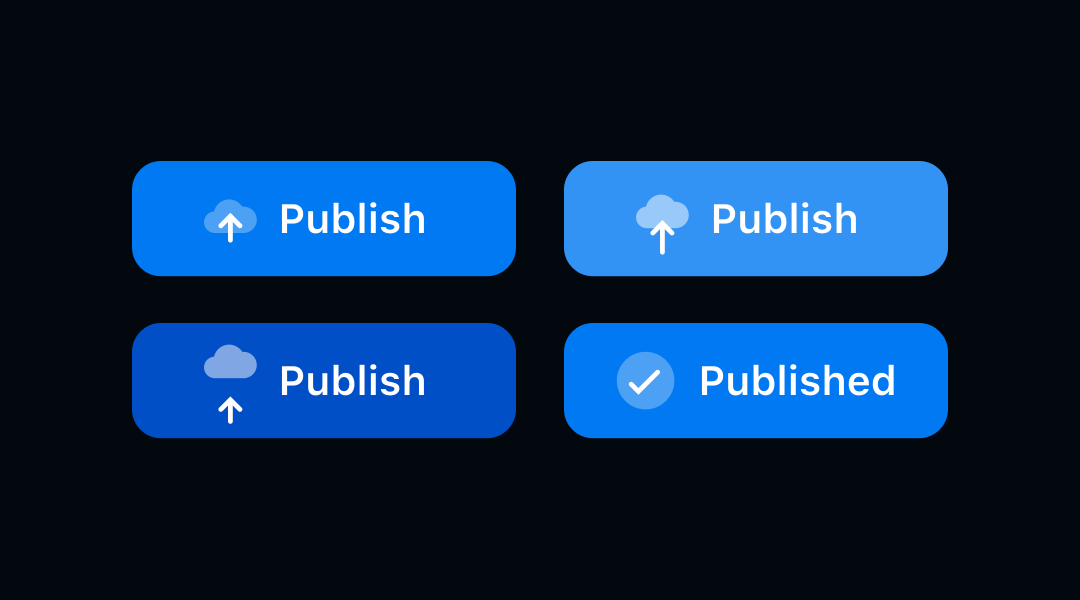
To prepare a UI element that will be interactive, you have to prepare the Component with it. Then duplicate it to create the next Components for various states of this specific UI element.
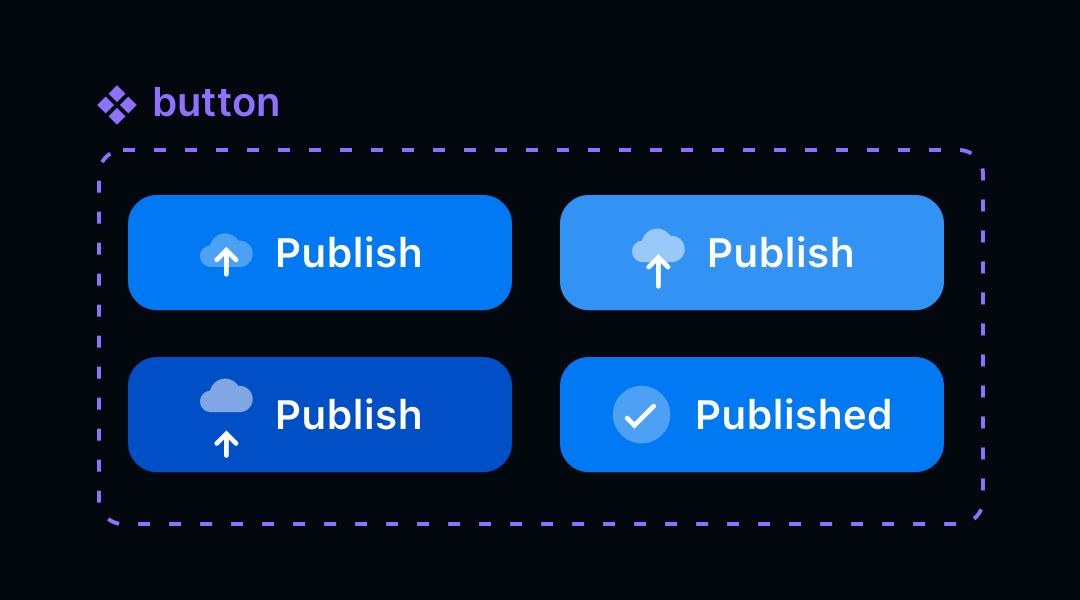
Now, select these components and create Variants from the group. Interactive Components work only for elements that are variants.
When you are ready with your Components, switch to Prototype mode by clicking the tab in the top right corner of the Figma window.
Select the first Component and press a little circle on the right side of it. Click the handle and drag it to connect with the other Component. This is how you create interaction.

When two components are connected, you may configure the interaction. Choose the interaction type from the dropdown – it may be “on click” to start with. Select animation type, and your first interactive Component is ready!
To check it out, create the instance of the Component (drag default component out of the Variants area) and click the “Play” button to launch the prototype.
That’s it! It is very simple to achieve powerful results with this feature.
Practical Tips
If you want to make more professional Interactive Components, here are some practical tips for more advanced purposes:
1. Use for more interactions than “on click”
As we know, buttons, checkboxes, and other UI controls should react to different interactions, not only clicking them. Figma allows you to prepare various states, so use them in your prototypes to achieve better results!
2. Use Smart Animate
Changing the state of the element feels more natural when the transition is animated. Figma allows you to use the Smart Animate feature to prepare a nice motion design for your Interactive Components. Just remember to keep the same layer names within components so the feature will know how to animate the transition.
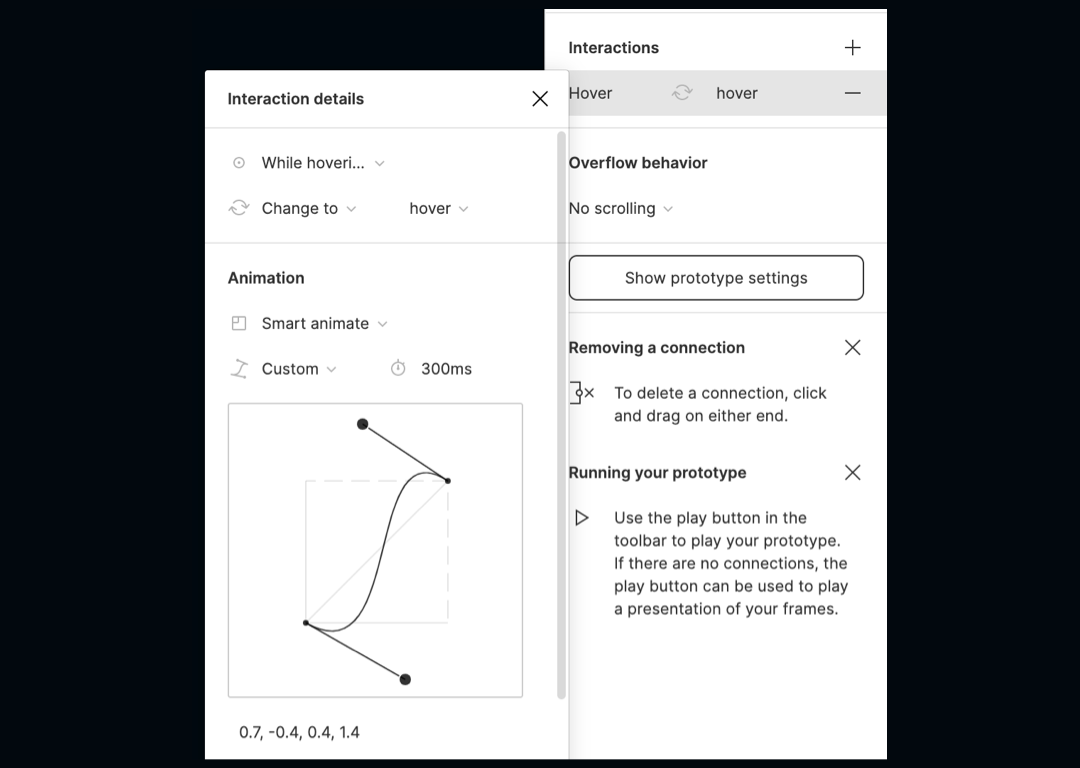
3. Use Custom Easing
When you start using Smart Animate, you will surely notice that to make your transition even more natural, you may pick various easing types for animation. There is also an option to prepare a “custom” one, so feel free to play around with this feature. Results may be impressive!
Interactive Components Sample
Feel free to get the sample Figma file with Variants and presented above Interactive Components. This may be the perfect starting point for your prototypes:
👉Get Figma Sample Interactive Components Now.
One more thing!
If you prefer watching tutorials instead of reading them. Feel free to watch the how to video showing how to create interactive button:
To conclude
Interactive Components are the feature that brings not only better usability to our prototypes but brings some joy to our designs. The feature allows us to achieve remarkable results with just a few clicks!
What will you create with Interactive Components now?
By the way…
If you start a new project or would like to organize your UI Library in Figma — do not waste your time creating everything from scratch. Feel free to use the Prime — Design System Kit. It helps you design UI with the best Figma techniques — Component Properties, Variants, Auto Layout and more.See Prime in action.
To make it easier there is a gift 🎁 - Use UXMISFIT10 offer code to get 10% Off.

You can also Create User Flows faster in Figma & Sketch — With SQUID you can create User Flows directly in your favorite design tool. You may style them to your project brand within a couple of clicks. Prepare all kind of diagrams in minutes. See how it works.